The right lighting can often make all the difference, which is why the best TVs now feature OLED panels and mini-LED backlighting. However, adding a lightstrip behind your TV can take things up a notch, especially when you’re able to sync it with the content being displayed on your screen.
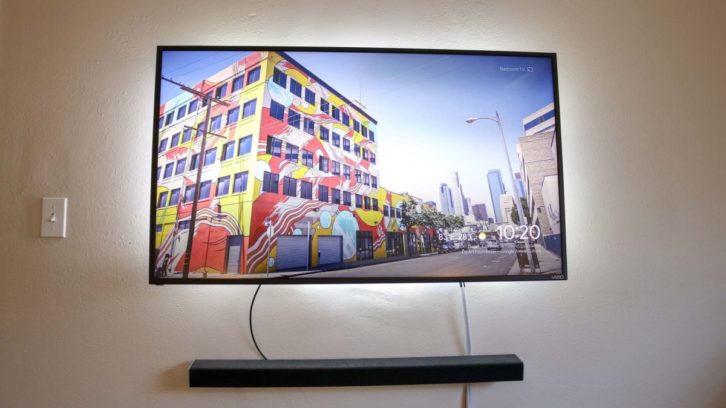
Even if you can’t sync your lightstrip with your TV, bias lighting — where a light source illuminates the wall behind your TV or monitor — adds a number of benefits such as reducing eye strain. By raising the surrounding light levels without introducing glare, bias lighting increases the contrast of whatever you’re watching which makes the picture look better. Another great thing is that it works on any TV, even one of the best budget TVs.
If you have the resources for a more expensive lightstrip and a few of the best smart light bulbs though, you can bathe your entire room in colorful light. With a Philips Hue Sync Box, one of the best mini PCs or even a Mac Mini set up in your living room, you can sync your lights with whatever content you’re watching for an even more immersive experience. This also works for PC or Mac games but for consoles like the Nintendo Switch, PS5 or Xbox Series X, you will need a Philips Hue Sync Box to pull off this feat of magic.
Regardless of what TV you have, this is everything you need to know about mounting a lightstrip behind your TV and syncing it with your favorite TV shows, movies and games.
Mounting the lightstrip
Although I would recommend mounting any lightstrip this way, I’ll be focusing on doing so with a Philips Hue Lightstrip Plus ($90, Amazon) since we’ll be using the company’s software on PC or its Play HDMI Sync Box to sync content. In order to get this to work though, you will also need a Hue Bridge which can be purchased separately for $59.99 or with several Philips Hue starter kits.
Most lightstrips come with an adhesive backing that you can use to stick them to a wall, desk, table or any other surface. However, instead of using the lightstrip’s adhesive backing, I instead used Command Outdoor Light Clips. This way I could have the lightstrip wrap around the corners of the TV without having to purchase any adapters or additional hardware. And, it makes it a lot easier to reposition the lightstrip this way, too. These light clips are also clear so they won’t block any of the light coming from the lightstrip.
Before you begin mounting the lightstrip, I recommend you take your TV off its stand or off its wall mount and lay it flat on a bed or couch with a blanket underneath it to prevent any scratches. If you leave your TV mounted to the wall, it’s still doable but much easier with the TV lying flat. You also want to test the lightstrip first to make sure it works before mounting it.
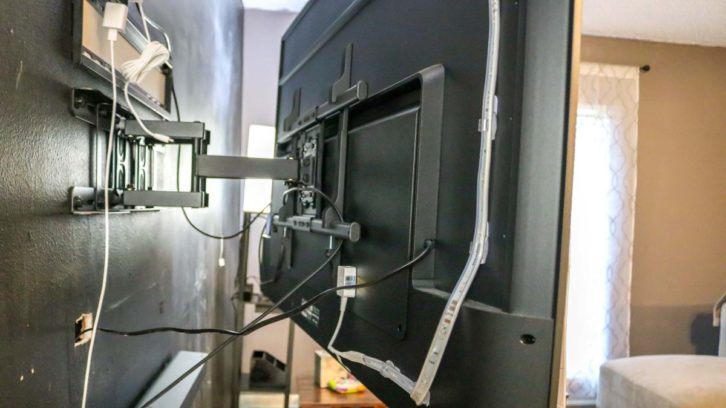
In addition to light clips, you will also need strong, double-sided tape to attach the adapter that comes with the Philips Hue Lightstrip Plus to the back of your TV. Once the adapter is fixed in place on the lower side of the middle of your TV, you then can start placing clips and running the lighstrip. You will need to leave ample space at the corners so that you can bend the lighstrip without damaging it. Also, I like to have the clips facing upwards to help hold the lightstrip firmly in place.
Once your lightstrip is installed and your TV is back in place, it’s time to begin syncing content which is easier as well as free if you have a Windows PC or Mac on hand. If not, don’t worry, but you will have to spend quite a bit more on a Play HDMI Sync Box from Philips.
Syncing content using a PC or Mac
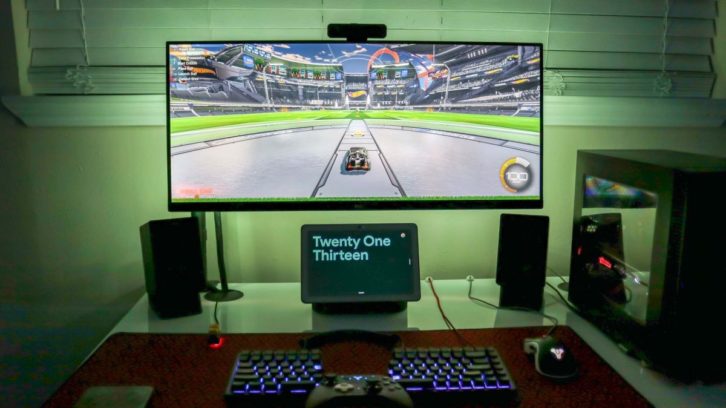
If you’ve added a Philips Hue Lightstrip behind your monitor or can connect a PC or Mac to your TV, syncing your lights with TV shows, movies or even games will be a whole lot easier.
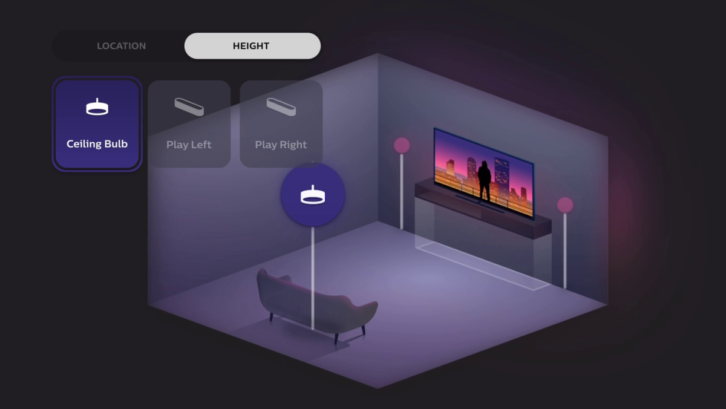
In fact, you just need to download the Hue Sync app(opens in new tab) and install it on your PC or Mac. However, you will also need to set up an Entertainment Area in the Hue mobile app for where in your house you want your Hue lights to sync with video, games or audio. You can position each of your lights anywhere in your room as well as adjust their height.
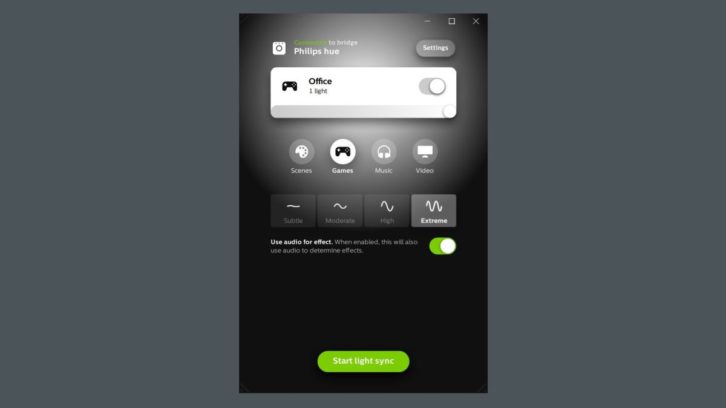
Once this is done, just choose the type of content (games, music or video), how fast you want the lights to sync (subtle, moderate, high, extreme) and click on Start light sync. You can also enable the toggle for Use audio for effect to have the audio of the content you’re watching or playing determine effects.
Syncing content with your TV may be the better option, but adding a lightstrip to a monitor and using a PC or Mac is certainly easier and faster. Also as monitors tend to be smaller, you likely won’t have to buy any lightstrip extensions to completely wrap a lightstrip around your monitor.
Syncing content from game consoles and streaming devices
If you want to sync content from a PlayStation, Xbox, Nintendo Switch or one of the best streaming devices instead, you’ll need a Play HDMI Sync Box to do so. The device itself isn’t cheap with a retail price of $249 though it often goes on sale for $20 less.
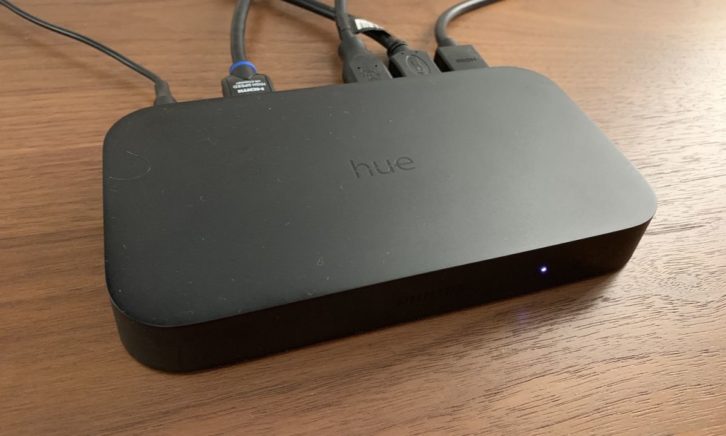
Essentially what the Play HDMI Sync Box does is take the video feeds from up to four devices connected via HDMI and syncs them with your Philips Hue lights based on the content on your TV screen. Another HDMI cable runs from the box and connects it to your TV.
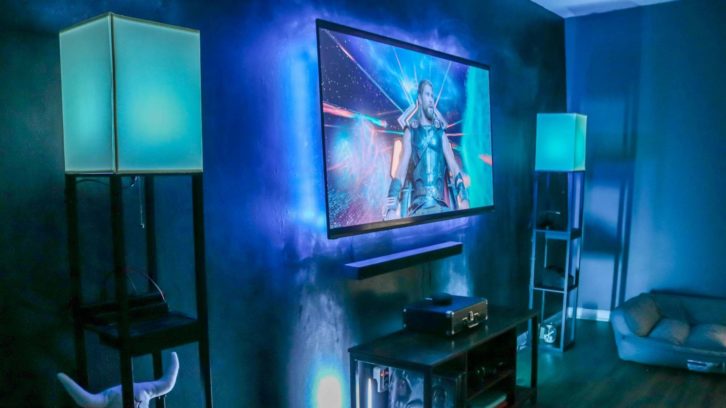
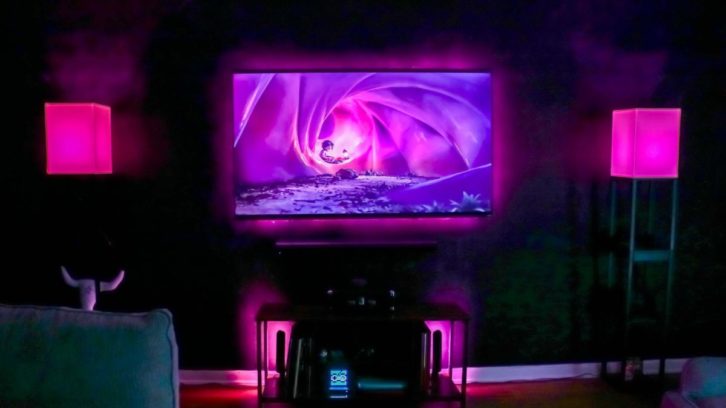
After testing it out on my own for the last couple of weeks, the Play HDMI Sync Box can be finicky and doesn’t always work — after looking online, it appears a number of other people have similar issues. However, when it does, it’s a sight to behold. The pictures in this article really don’t do it justice and it’s the kind of thing you need to see with your own eyes. Also keep in mind that it will look even better in a room with white walls as opposed to on my own black, chalkboard wall.
It’s up to you if you want to go all in and get a Play HDMI Sync Box, but I highly recommend testing out Hue Sync with a PC or Mac first before making your final decision.
A new level of immersion
Having the content you’re watching or playing sync with a lightstrip or other smart lights definitely adds a new level of immersion to your favorite TV shows, movies or games. However, it’s not without its flaws and likely won’t be for everyone. Also creating a setup like this can get expensive fast.
Fortunately, you don’t have to buy everything at once and if you wait for Black Friday, Prime Day or other big sales, you can save a lot. Adding a lightstrip to your TV or monitor is a great starting point and you can always expand your Entertainment Area with more lights down the road. Even if you can’t sync content with your lights right away, bias lighting can certainly improve your viewing experience.
I for one am quite happy with my setup but I don’t have everything synced up all the time. When I do turn on Hue Sync though, I remember just how magical the experience is and am still taken aback by how it looks in person.
This article originally appeared on tomsguide.com
About the Author
Anthony Spadafora is the security and networking editor at Tom’s Guide where he covers everything from data breaches and ransomware gangs to password managers and the best way to cover your whole home or business with Wi-Fi. Before joining the team, he wrote for ITProPortal while living in Korea and later for TechRadar Pro after moving back to the US. Based in Houston, Texas, when he’s not writing Anthony can be found tinkering with PCs and game consoles, managing cables and upgrading his smart home.
See also: 3 Trends Driving The Smart Home